We understand that a large portion of our audience is new to Web3. Perhaps you’re feeling curious but find it challenging to navigate this complex space? It’s possible you’ve even given up due to the lack of clear information and educational resources available? Maybe you’ve taken a few steps by buying tokens on centralized exchanges like Binance or Coinbase, and are now eager to explore what else is on offer?
With this in mind, we’re launching a series of articles exclusively for beginners like you who are looking to get started. We’ll cover the basics of how to begin on various platforms and how to safely navigate your way around Web3.
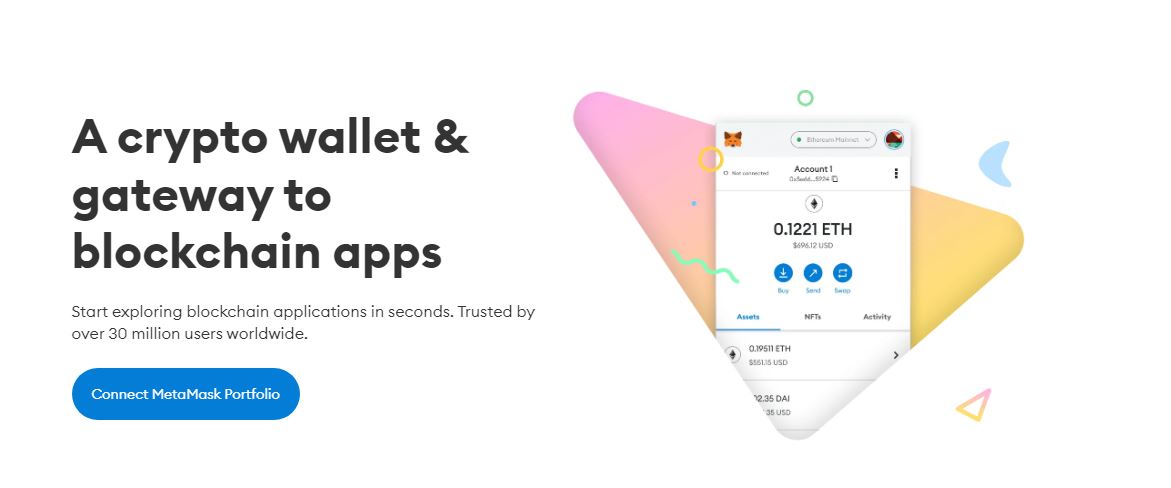
Self-custody of your digital assets is crucial, as it allows you to be your own bank. The MetaMask wallet serves as your gateway to this venture! In this guide, we’ll walk you through what MetaMask is and how to set up your wallet.
What Is Metamask?
The MetaMask Wallet is a non-custodial cryptocurrency wallet designed specifically for use on the Ethereum blockchain. The term “non-custodial” is important because it means that you, as the user, always maintain full control over your private keys and funds. In other words, your digital assets are not held or managed by a third party.
Getting Started

Setting up your MetaMask wallet is a straightforward process, even if you’re new to Web3. Follow these steps to get started:
Step 1: Download MetaMask Wallet
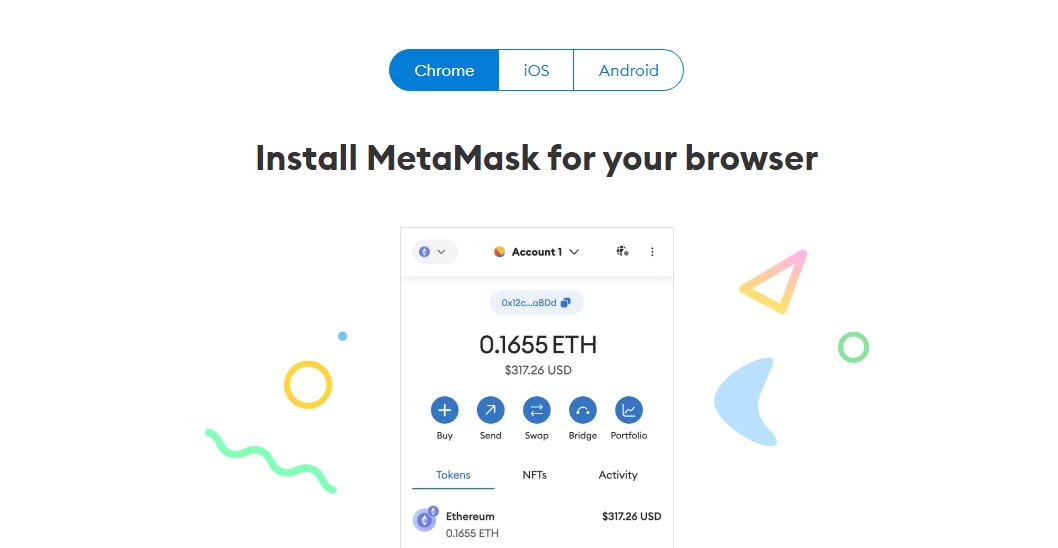
Visit the official MetaMask website at metamask.io and click on the “Download” button. Choose your preferred platform, whether it’s a browser extension or a mobile application, and install the MetaMask extension.
MetaMask offers support for iOS and Android mobile apps, as well as browser extensions for Chrome, Firefox, Brave, and Edge. It’s recommended to start with a desktop browser extension, as there are more security risks associated with mobile devices for beginners.

Step 2: Installation
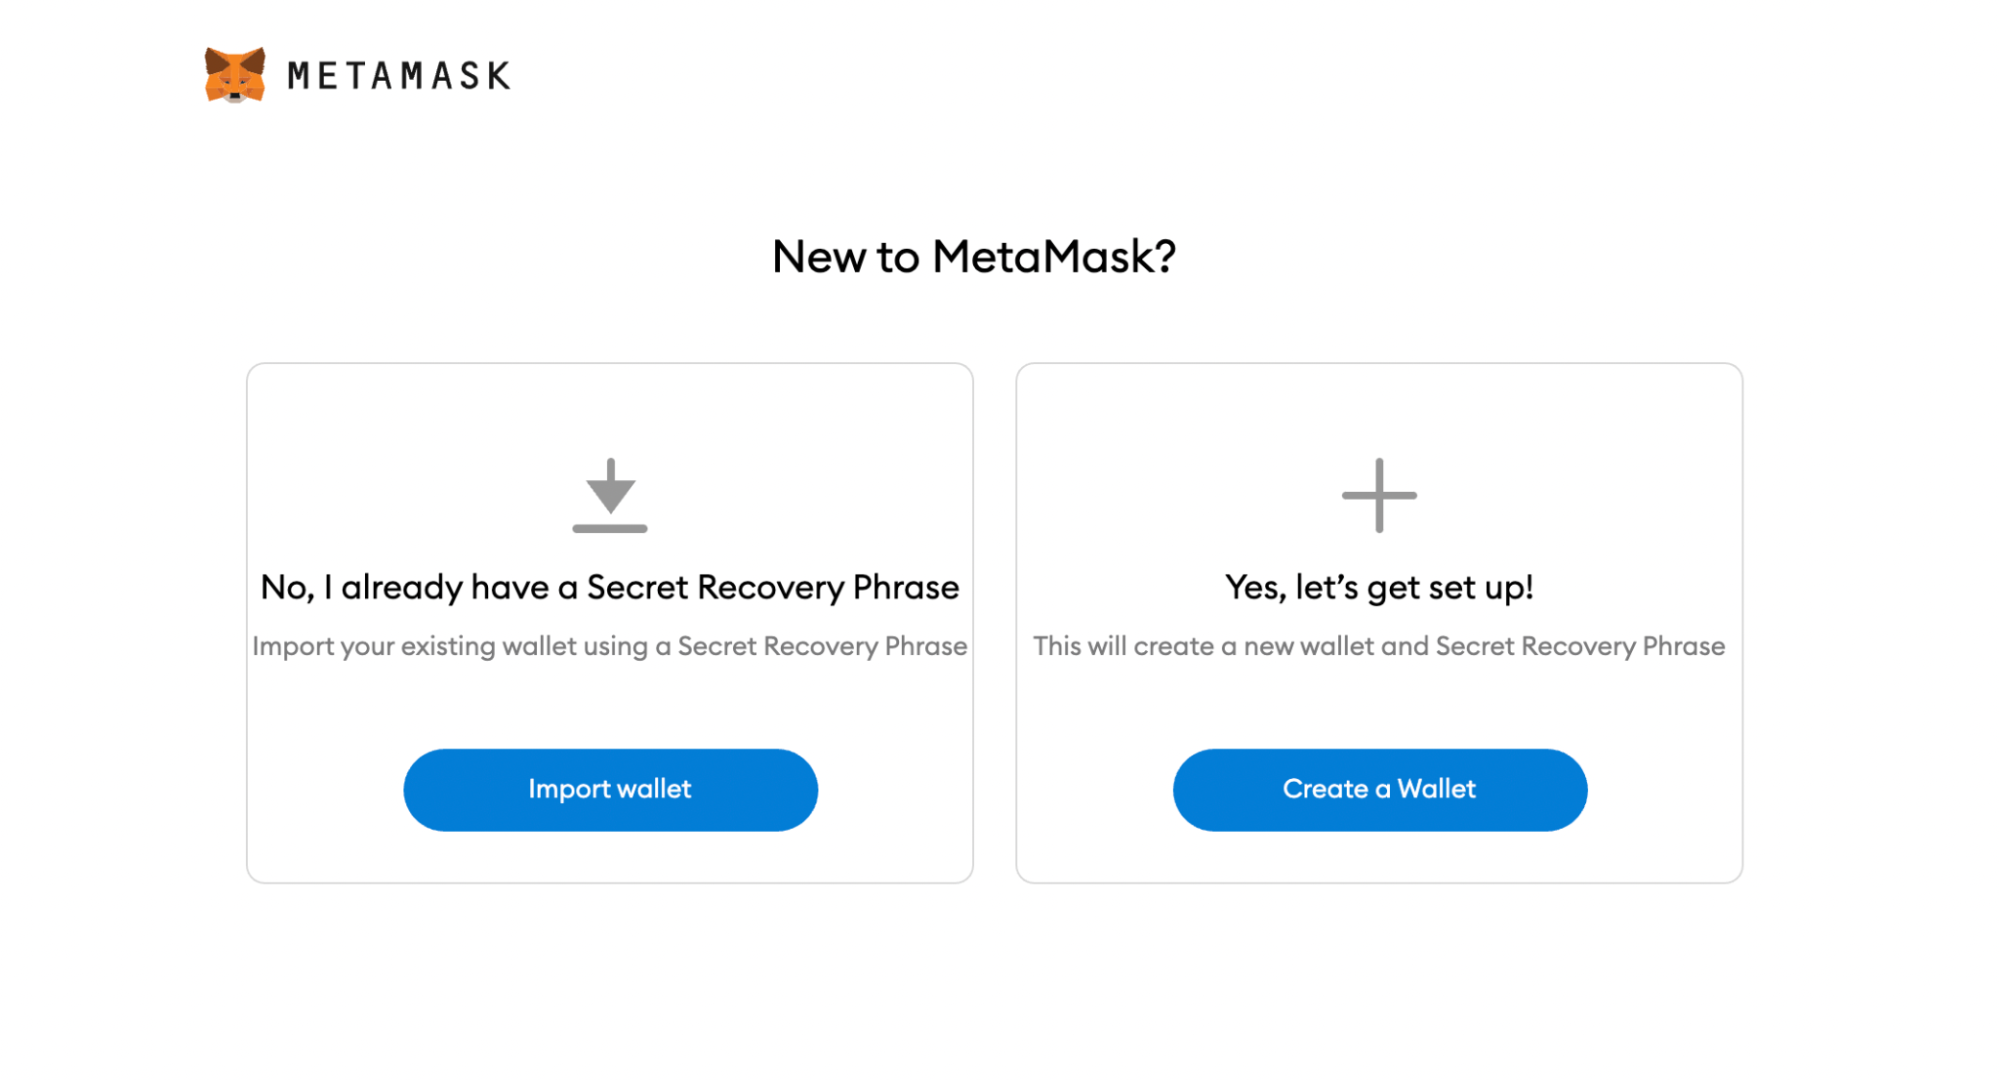
After installing the MetaMask extension, click on its icon in your browser and select “Get Started.” You will be presented with two options: you can either import an existing wallet using a seed phrase or create a new wallet. In this instance, you’ll be creating a new wallet.

Step 3: Creating a New MetaMask Wallet
You will then be prompted with a data collection permission notification. If you’re concerned about privacy, you can decline this data collection request by clicking “No thanks.”
Step 4: Setting a Strong Password
Next, create a strong and secure password for your wallet. Make sure it’s a combination of letters, numbers, and symbols, and avoid using passwords from other accounts for added security.
Step 5: Safeguarding Your Seed Phrase
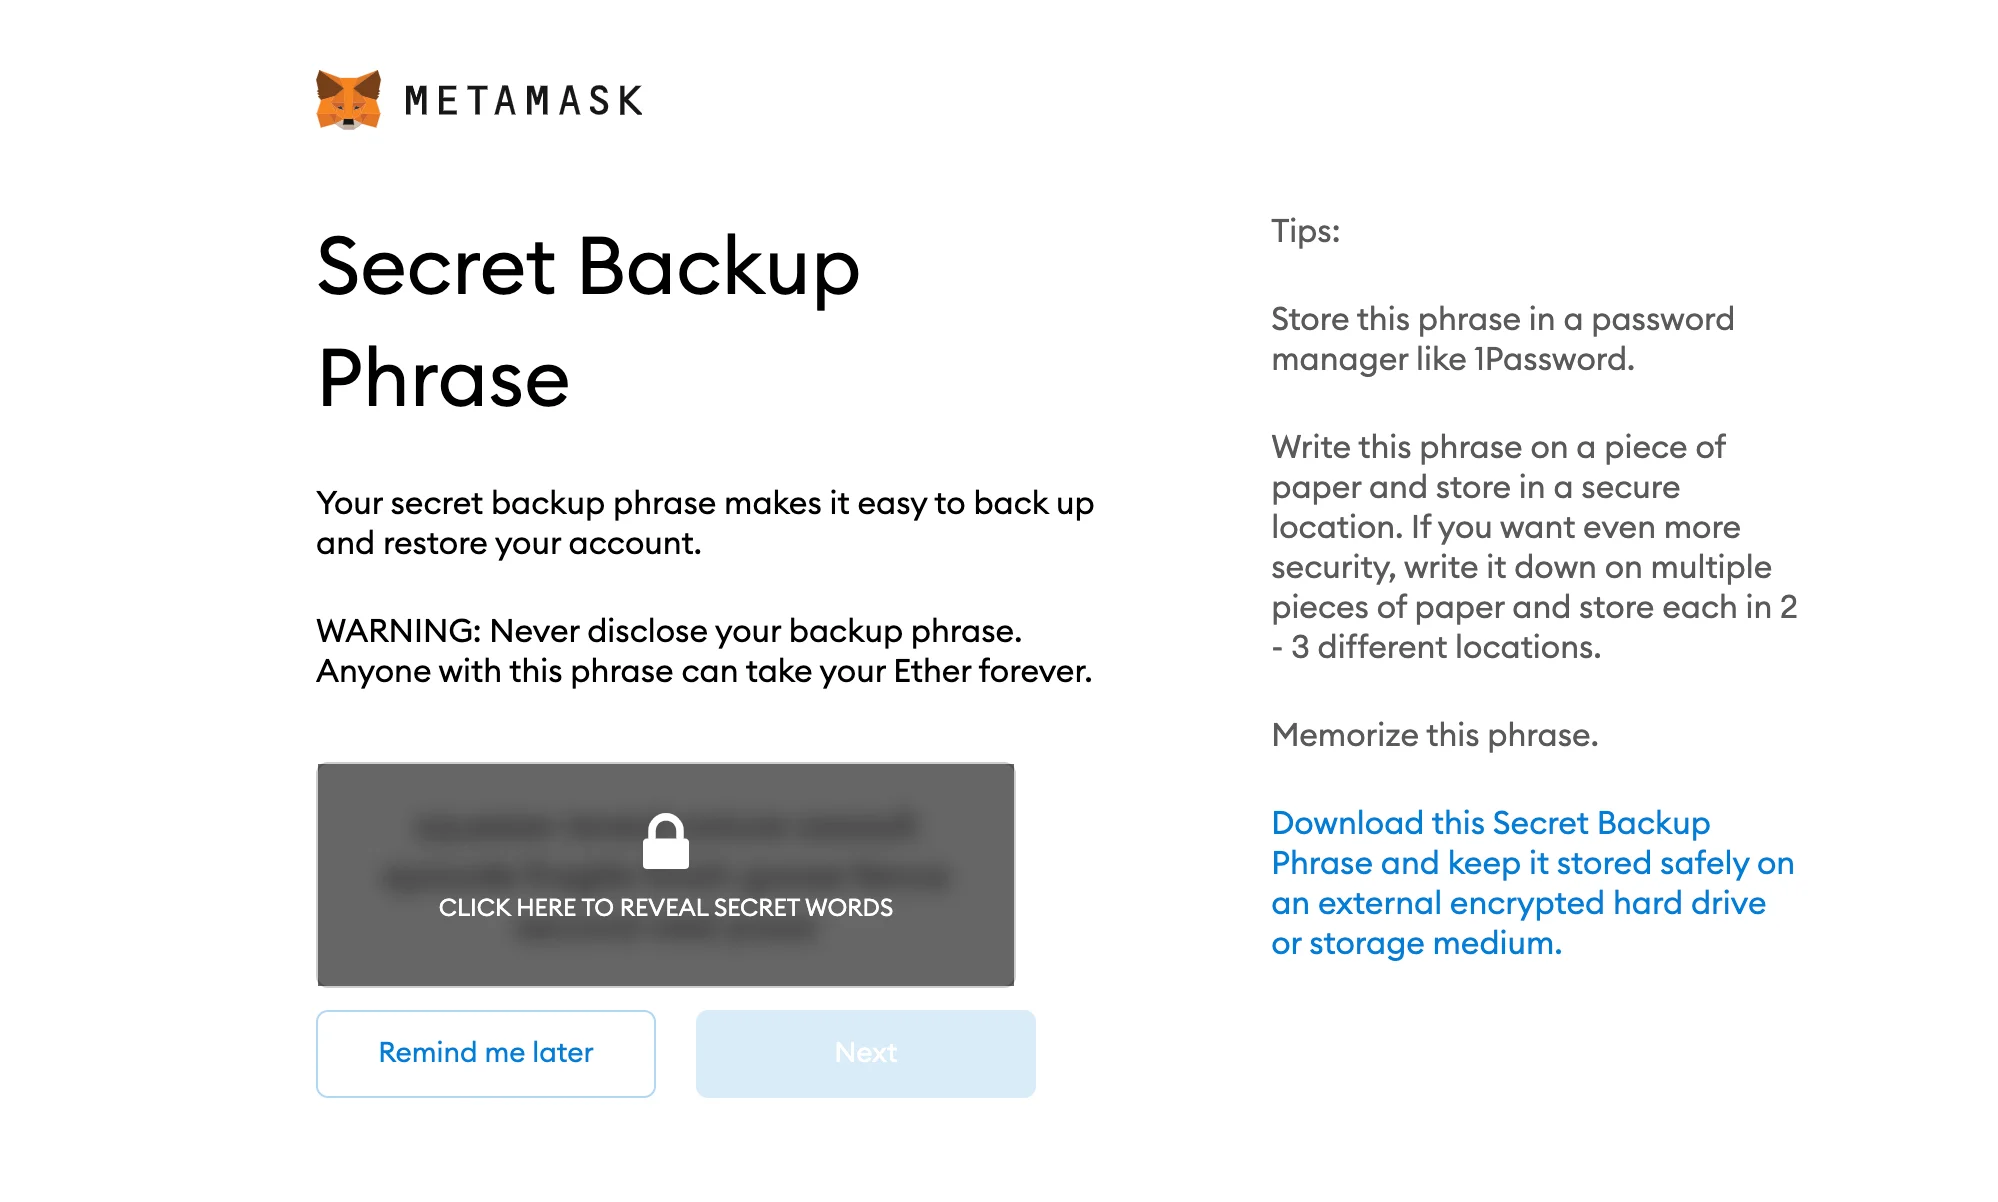
Here’s the crucial part. Your seed phrase is your wallet’s lifeline. Click on “Click here to reveal secret words” to display your 12-word seed phrase. It’s of the utmost importance to store this phrase securely, as it’s the only way to recover your funds in case of device failure or a browser reset.

The common practice is to write down the seed phrase on a piece of paper and keep it in a secure place where only you have access. Never share this phrase with anyone or any website, as it would give them control over your funds.
If your computer ever becomes compromised by viruses, malware, or keyloggers, hackers may be able to view the files on your device and find your seed phrase. That’s why we always recommend keeping the seed phrase offline and stored in a safe, dry, and locked-away location, rather than written down digitally.
Step 6: Confirm Your Seed Phrase
To ensure you’ve noted your seed phrase correctly, you’ll be asked to confirm it by clicking on each word in the order it was presented on the previous screen. Once you’ve completed this step, click “Confirm.”
And there you have it! Your MetaMask Wallet is now set up. You can access it by clicking on the MetaMask icon in the top-right corner of your preferred browser.
What Can I do With A Metamask Wallet?
With a MetaMask wallet now at your disposal, you gain access to a plethora of new possibilities which CEX’s can’t offer. Here are some of the key things you can do:
- Store and manage crypto
- Interact with decentralized applications
- Buy and sell tokens not available on CEX’s
- Participate in ICOs and token sales before they hit CEXs
- Buy and create NFT collections
- Secure your digital assets with higher security, managed by yourself, not a third party
Stay tuned for our upcoming Influencive Web3 101 articles, where we’ll explore these features further. For now, well done! You’ve just opened the door to a whole new realm of opportunities within Web3!
This is a Contributor Post. Opinions expressed here are opinions of the Contributor. Influencive does not endorse or review brands mentioned; does not and cannot investigate relationships with brands, products, and people mentioned and is up to the Contributor to disclose. Contributors, amongst other accounts and articles may be professional fee-based.

